
This is an old revision of the document!
Table of Contents
102 Pen and Paper Adventure | Beta Age | Hunting an Unknown Hunter
SCENE 8a — RETURN TO NEW KOUROU
1 | Scene Overview
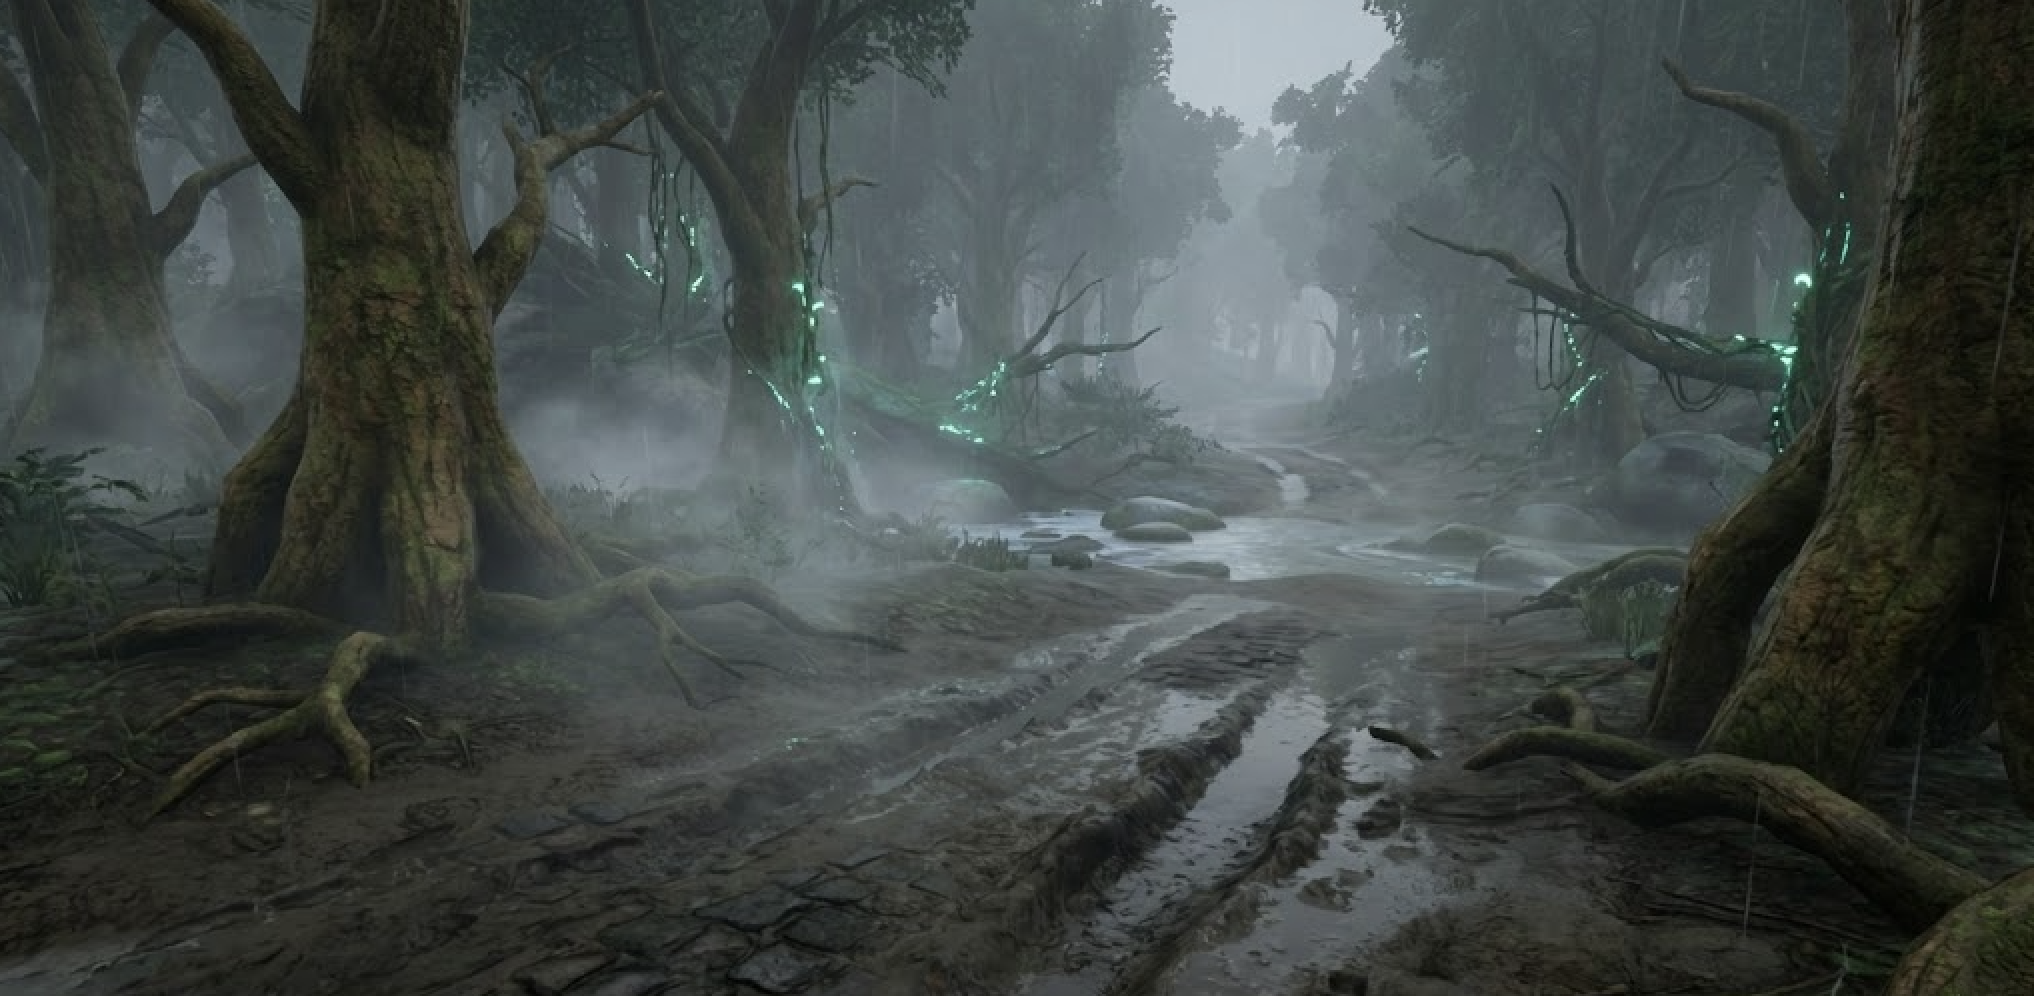
- Location: The wilderness bypass around Morningstar, the Hope Region, and the forested foothills leading to New Kourou.
- Type: Relentless Pursuit · Logistics Puzzle · Cultural Confrontation · Interrogation
- Era: Beta Age
- Tone: Exhaustion · raw survival · paranoia · a ticking clock
Atmosphere & Sensory Cues: The burning ache of carrying dead weight · the heavy thud of Veyra hooves echoing through the mist · the crackle of a shortwave radio · the sudden, oppressive silence of the Honga's arrival.
2 | DM Rule: The "One Round Behind" Pursuit Mechanic
From the moment the PCs breach the compound wall in Scene 6c, they are being hunted. A heavily armed posse is tracking them on Veyras. They are exactly one round (or one exploration phase) behind the PCs.
The Hunters:
- Valen Vanlith: Leading the charge, fueled by absolute fanaticism.
- Mustafa “Mu” Metzger: Tracking their footprints with cold precision.
- 2 Exohuman Guards: One carries a Windstrike Rifle and a Hunting Knife. The other carries a Hunting Bow equipped with a quiver of 10 poisoned arrows (DC 14 CON save or suffer the *Poisoned* condition and 1d6 poison damage per turn).
The Mechanic:
- If the PCs stop to rest, argue, heal, or fail a navigation check that costs them time, the hunters will close the gap and discover them (unless the PCs proactively use that time to set up a hidden ambush). If the PCs keep moving, they maintain their agonizingly narrow lead. If they do not fight or kill the hunters, the posse will follow them all the way to New Kourou.
J.W.'s Regional Influence (The Threat Level):
As the chase progresses geographically, J.W.'s political and social power decays:
- Morningstar (Maximum Impact): J.W. owns this town. The Weber broadcast has activated his loyalists. If the PCs get too close, an ambush of 4 armed settlers awaits them.
- Hope Region (Moderate Impact): J.W. retains some influence due to his trade connections, but he no longer has 100% loyal settlers or lawmen on his side who will do everything he or his guards command.
- New Kourou (Zero Impact): J.W. has no power here. Once the PCs cross the city limits, the hunters will break off the pursuit.
3 | Read-Aloud Descriptions
Initial Read-Aloud (The Breath on Your Neck)
The adrenaline of the escape is fading, replaced by the brutal, agonizing reality of your prize. Jareth Wyrick is a heavy man, and he offers no help. He stumbles when you push him, drags his feet when you pull him, and maintains an unbroken, infuriating silence.
Through the trees ahead, the scattered lights and chimney smoke of Morningstar bleed into the mist. You cannot go through the settlement. Suddenly, the heavy, rhythmic thud of Veyra hooves echoes through the damp air behind you, snapping branches in the distance. They are tracking you.
J.W. looks over his shoulder toward the sound, then back to you. The corner of his mouth twitches into a cold, knowing smile. He doesn't need to speak for you to understand the danger: his deadliest enforcers are only minutes behind you, and the settlement ahead is crawling with his loyalists. You are going to have to find a way to smuggle the most powerful man in the Atrana Mountains right under their noses. As his dead weight pulls painfully at your shoulders, you realize you would give almost anything for a sturdy mount right now — or better yet, a heavy wooden cart with a thick tarp to hide him completely …
Staged Read-Alouds (Progressive Descriptions)
| Trigger / Timing | Read-Aloud / Narrative Insert |
| The Interception (Phase IIa) | The forest does not make a sound, but the air suddenly feels too tight to breathe. The ambient noise of the insects stops. From the shadows of the broad-leafed trees, they step forward. Five warriors. Then ten. Spears planted. Their third eyes are open, dark, and unblinking. Behind you, the distant, rhythmic thud of Veyra hooves grows louder. You are out of time. A scout steps into your path, his gaze dropping to the heavy, bound man you are dragging. He points his spear toward the deep woods, away from the road. “You now stop,” he says in broken Common. |
4 | Scene Intent
| Scene Type | Player Intents | DM Function / Story Link |
| Relentless Pursuit & Moral Resolution | Safely bypass Morningstar's ambush · manage the ticking clock of the pursuing Veyras · honor the promise to the Honga · extract a confession from J.W. | Reverses the roles—the hunters become the hunted. Closes the Honga loop under extreme time pressure. Breaks J.W.'s silence by putting him in a situation where his money and power are useless. |
5 | Key (N)PCs
| Name / Role | Motivation / Function | Dynamic Cues — How They React in Play | Link |
| J.W. — “The Hunter” | Sabotage and survival | He uses his dead weight to slow the PCs down, knowing Valen is exactly one round behind them. | Jareth Wyrick |
| The Hunting Posse | Relentless rescue | Valen, Mustafa, and two guards on Veyras. They track relentlessly and will engage in lethal combat if they catch up. | Valen Vanlith, Mustafa Metzger |
| Morningstar Settlers (4) | Ambushers | Armed with Windstrike Rifles, they wait near the main road of Morningstar, alerted by the Weber radio. | Morningstar |
| Honga Scouts | Restoring the balance | They appear silently to intercept the PCs on the Trade Route. They do not yell or threaten, but they form a physical wall. They will not let the PCs pass. | Honga Tribe |
| Guarding Troopers | Law Enforcement | They patrol the Trade Route south of Hope. If they see a hostage or recognize the “wanted” PCs, they will pursue aggressively to make arrests. | Guarding Troopers |
6 | Triggers, Clues & Consequences
Phase I — The Morningstar Bypass (Choosing the Route)
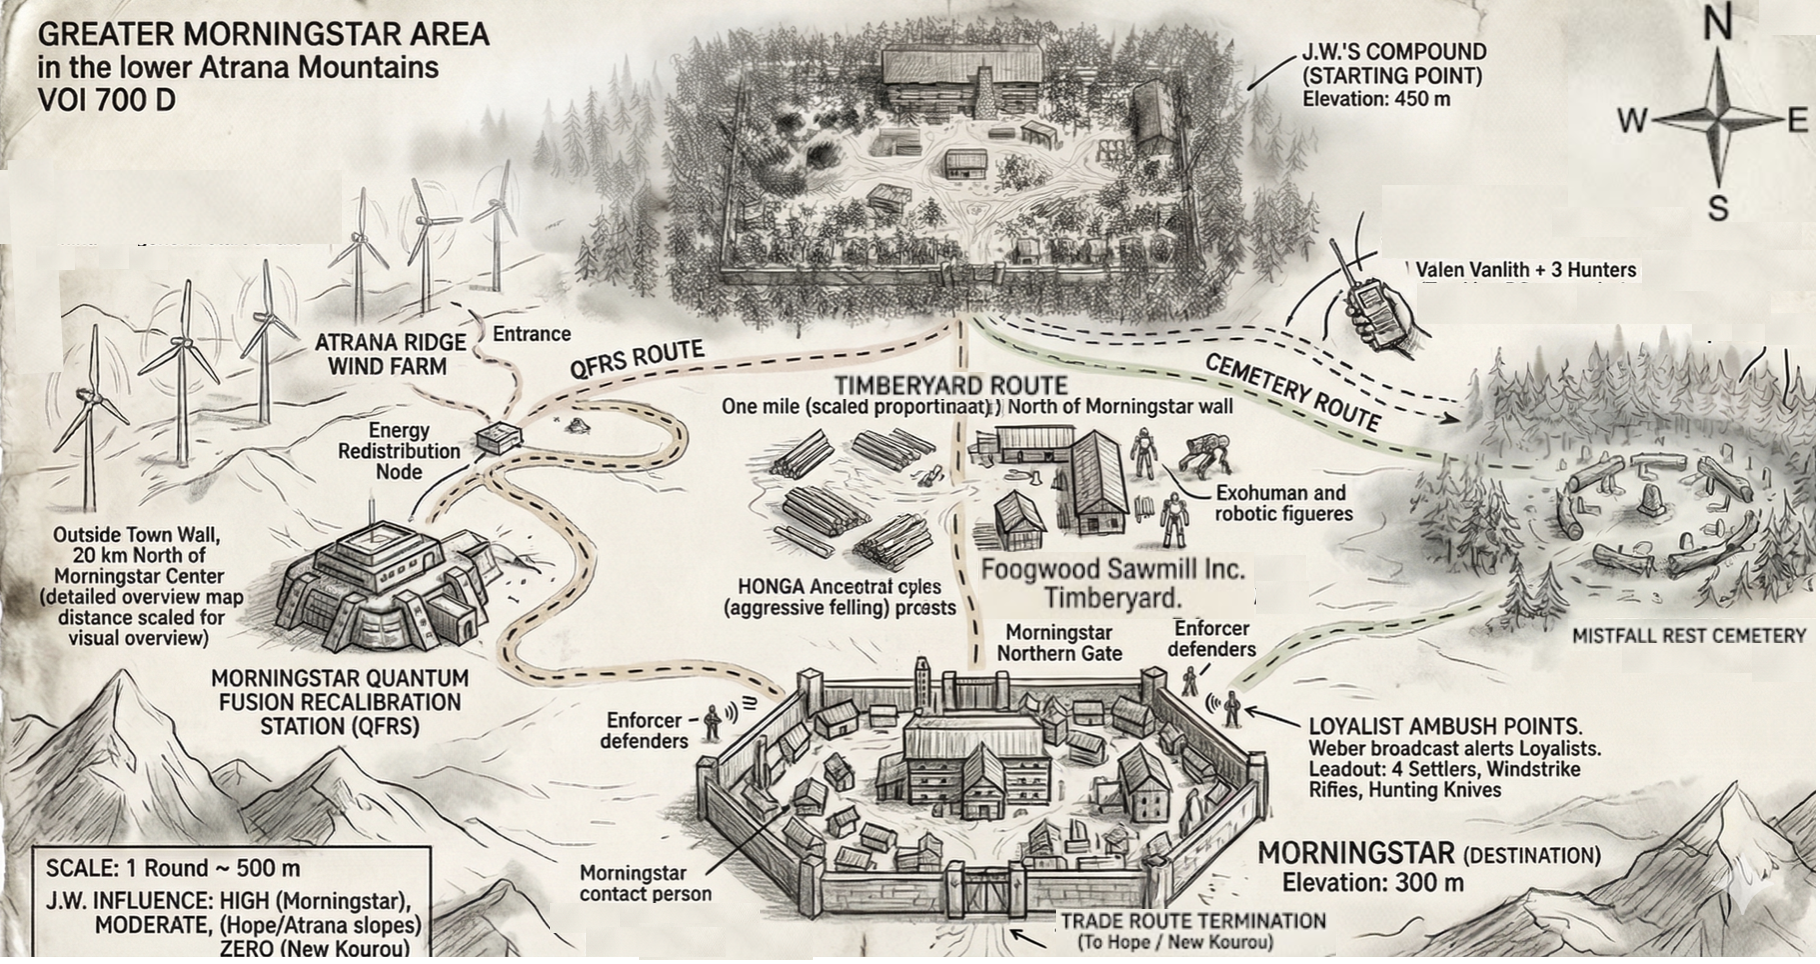

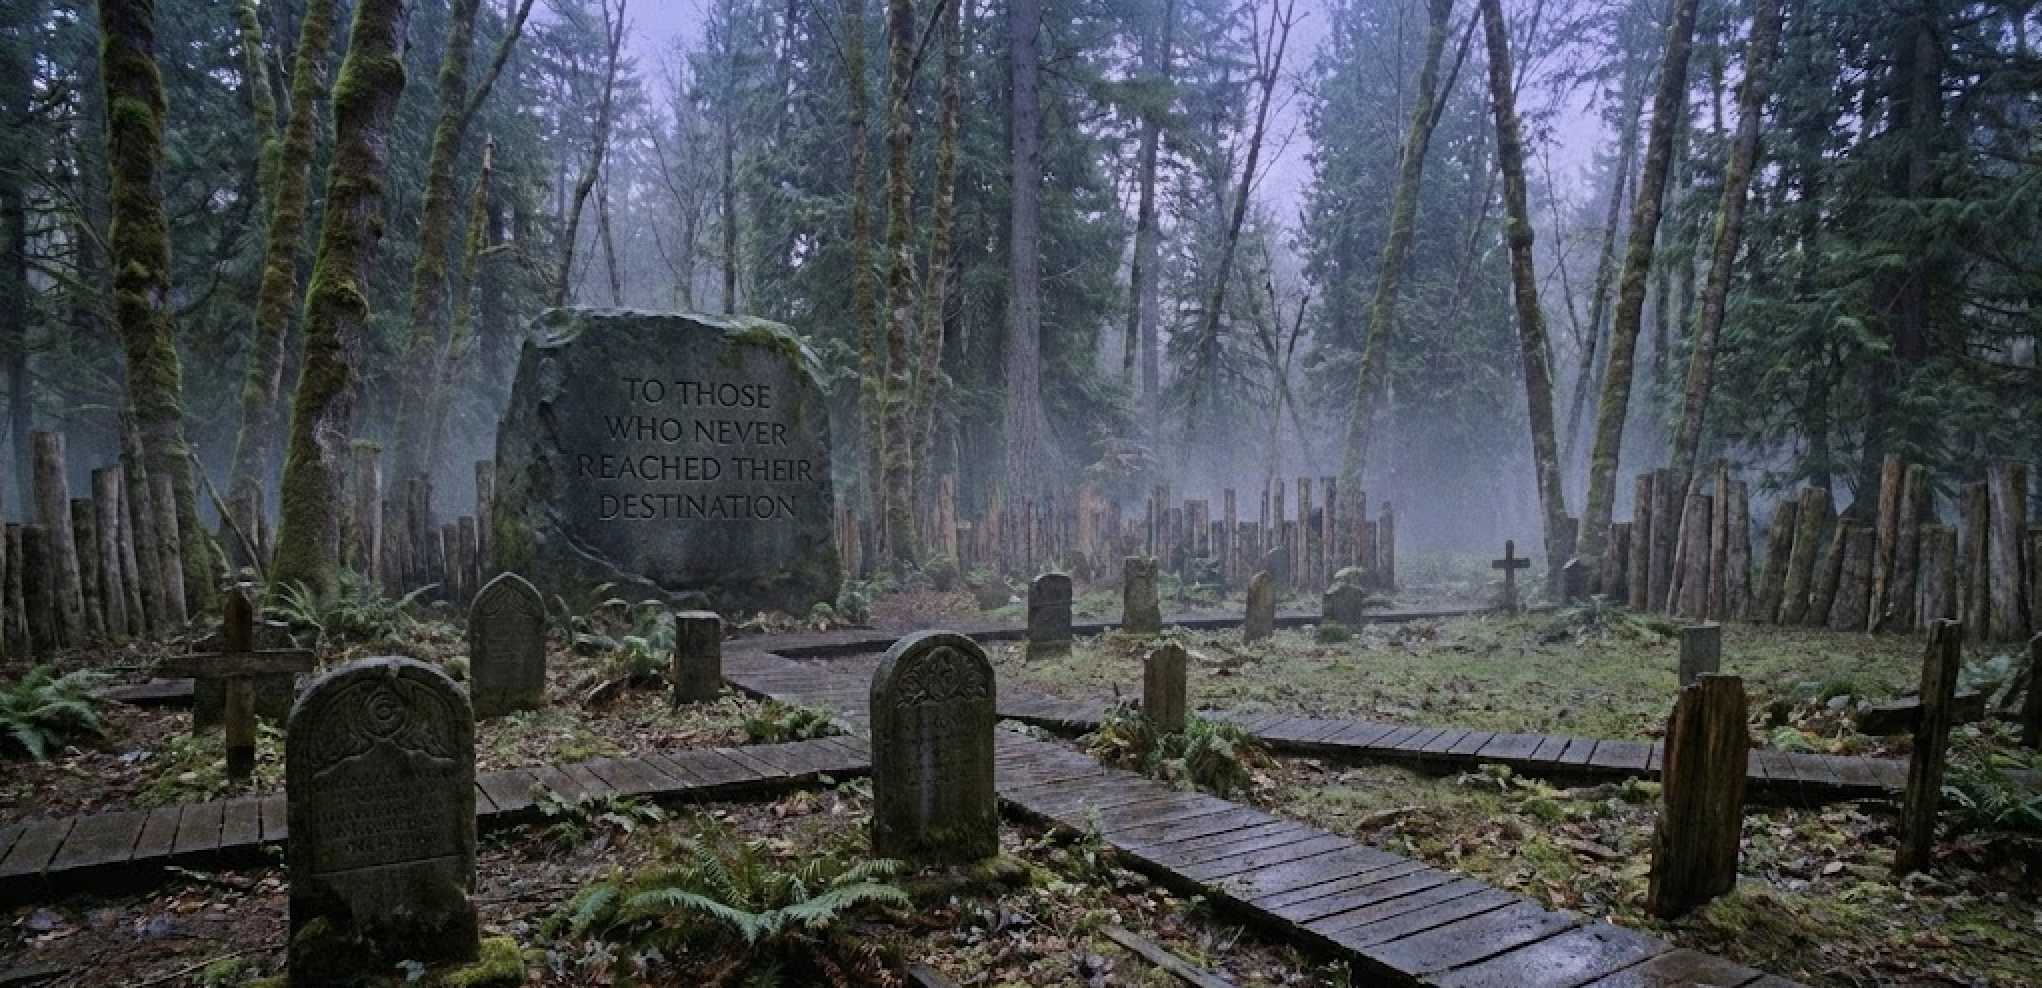
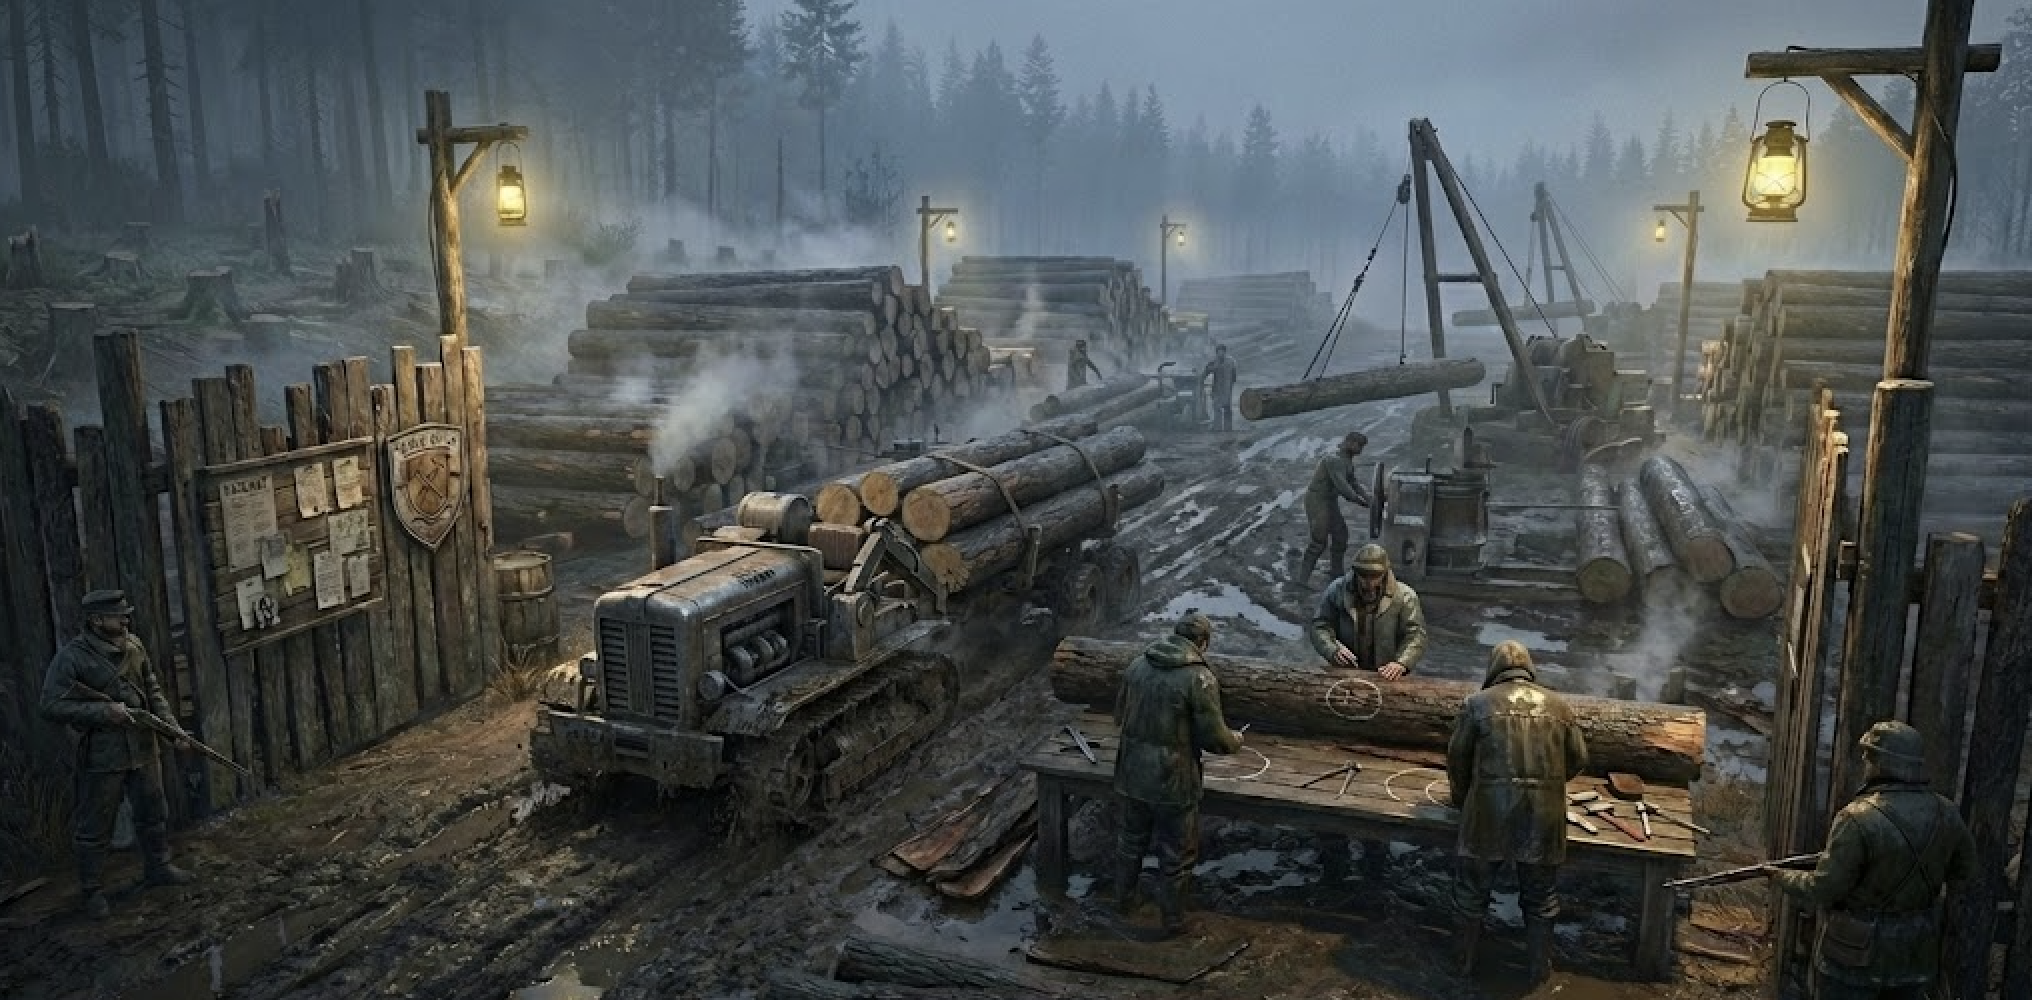
The Weber broadcast has alerted J.W.'s loyalists in Morningstar. To reach the Trade Route heading south, the PCs must choose a path through the surrounding industrial and historical sites. Valen's posse is exactly one round behind them.
| Trigger / Cue (PC Choice) | Immediate Reaction | Clue / Consequence |
| PCs take the Central Route (Through the Fogwood Sawmill Timber Yard) | The most direct path, but the yard is active with Exohuman crews and heavy loader bots. | Consequence: If the PCs have the Mortician's Cart, this is the perfect cover. A group CHA (Deception) probe (DC 12) easily convinces the yard workers they are hauling a logging casualty. If on foot, sneaking a bound hostage through an active industrial zone requires a brutal group DEX (Stealth) probe (DC 16). Failure: Yard workers spot them, immediately alerting the 4 Loyalist Ambushers at the Morningstar gate. |
| PCs take the Eastern Route (Through Mistfall Rest Cemetery) | The path winds through living log rings and the overgrown, mist-shrouded graves of the settlers. | Consequence: The dense mist and surrounding nature of the cemeterygrant Advantage on all Stealth checks. However, the uneven ground makes dragging J.W. exhausting. Mechanic: A group STR (Athletics) probe (DC 14). Failure: The PCs get bogged down in the thick undergrowth, costing them precious time. Valen's Veyra posse closes the gap, triggering the “One Round Behind” penalty. |
| PCs take the Western Route (Through the Quantum Fusion Recalibration Station & Atrana Ridge Wind Farm) | The humming energy grid and massive wind turbines offer loud ambient noise to cover their tracks. | Consequence: Navigating the steep, 20km-outskirts of the Quantum Fusion Recalibration Station requires a group WIS (Survival) probe (DC 14) to avoid automated Service Bots and high-voltage recalibration nodes. Failure: A Service Bot detects an anomaly and triggers a localized security flare. The PCs must dash away immediately, drawing the attention of Morningstar's perimeter guards. |
| PCs move too close to the Morningstar Northern Gate | The Weber broadcast pays off. The loyalists are waiting. | Consequence: 4 armed Settlers (with Windstrike Rifles and Hunting Knives) intercept them. The PCs must engage in a lethal firefight, negotiate a standoff, or flee into the woods, knowing the gunfire will act as a beacon for Valen's approaching posse. |
| PCs stop to rest, heal, or argue for too long | The mist breaks. The sound of hooves is suddenly deafening. | Consequence: The ticking clock strikes zero. Valen Vanlith, Mustafa Metzger, and the two guards crash through the undergrowth on their Veyras. The PCs must immediately engage in a deadly combat encounter or abandon J.W. to flee. If defeated: The posse beats the PCs into submission, binds them, and drags them all the way back to the compound. Proceed to Scene 6b — As a Prisoner in the Realm of the Hunter. |
—
Phase Ib — Crossing Morningstar (Optional)
If the PCs fail their bypass attempts, or audaciously decide to walk directly through the settlement of Morningstar, they must navigate a highly populated area where J.W.'s influence is absolute. They are now dodging Valen's posse, loyalist settlers, AND local law enforcement.
| Trigger / Cue | Immediate Reaction | Clue / Consequence |
| PCs travel through the streets without disguise or cover | They are visibly dragging a hostage, OR their faces are recognized from their “Wanted” status (e.g. from the previous adventure). | Consequence: If an ordinary Settler spots them, they panic and flee to report it. This triggers the “One Round” rule: after exactly 1 exploration round, a heavily armed squad of Guarding Troopers begins actively pursuing the PCs through the settlement. |
| A Guarding Trooper spots the PCs | The Trooper raises their weapon and calls for immediate backup. | Consequence: Immediate, high-speed pursuit. The Trooper engages, and heavily armed backup will arrive in 1d4 rounds unless the PCs neutralize the threat silently or break line of sight and hide. |
| PCs are caught or subdued by Guarding Troopers in Morningstar | The Troopers disarm and arrest the PCs. | Consequence: The ultimate demonstration of J.W.'s power. His influence here is so absolute that he easily bribes or intimidates the Guarding Troopers. The corrupt law enforcement hands the PCs over to J.W.'s arriving enforcers, dismissing it as a “personal local dispute.” The PCs are stripped of their gear and dragged back to the compound. Proceed immediately to Scene 6b — As a Prisoner in the Realm of the Hunter. |
—
Phase II — The Interception (Transition to Scene 8b)
As the PCs successfully bypass Morningstar and push south along the Trade Route, the Honga ambush them. This encounter happens whether the PCs met them previously or not. Crucially: Valen's Veyras are still coming.
| Trigger / Cue | Immediate Reaction | Clue / Consequence |
| Honga Scouts surround the PCs (If met in Scene 3b) | Spears are planted. A scout points silently at J.W. | Consequence: The scout speaks in broken Common: “Bring death-maker to Aruṋa. You promised.” |
| Honga Scouts surround the PCs (If NOT met previously) | Spears are planted. Weapons are drawn. | Consequence: The Honga block the Trade Route. A scout stares at the PCs and their captive. “Vena tum. (Nature is wounded). Come Aruṋa for judgment.” |
| PCs agree to follow the Honga | The scouts lead them off the Trade Route and into the dense, misty undergrowth. | Consequence: The Honga's hidden paths temporarily mask the PCs' tracks. Proceed immediately to Scene 8b — The Judgment. Once Scene 8b concludes, the DM returns to Phase III of this page for the final journey. |
| PCs refuse and try to fight the Honga | The scouts raise their weapons, but the Veyras sound dangerously close. | Consequence: The PCs risk a chaotic two-front war. They must either break through the Honga lines (Group STR/DEX DC 15) and keep running, or get bogged down long enough for Valen's posse to catch them. |
—
Phase III — The Final Stretch (Hope Region to New Kourou)
Following the events of Scene 8b, the PCs must limp back onto the Trade Route and navigate the final stretch through the Hope Region. Valen's posse (if they survived Scene 8b) is still hunting them, but now the PCs also face the official law enforcement of the Free State of Settlers.
| Trigger / Cue | Immediate Reaction | Clue / Consequence |
| PCs travel the Trade Route without disguise or cover | They are still carrying the “Wanted” status from their earlier actions, and they are openly hauling a bruised, bound man. | Consequence: If an ordinary Settler spots them, the “One Round” rule triggers: the terrified civilian flees and reports the kidnapping. After exactly 1 round, a squad of Guarding Troopers will intercept the PCs on the road. |
| A Guarding Trooper spots the PCs with the hostage | The Trooper raises their weapon and shouts for backup. | Consequence: The Trooper engages immediately, triggering a combat or high-speed chase. They radio for support, meaning more Troopers will arrive within 1d4 rounds if the PCs do not neutralize the threat or escape into the brush. |
| PCs use the Mortician's Cart (or clever disguises) | The Troopers and Settlers pay them no mind. | Consequence: If J.W. is hidden beneath corpse tarps or otherwise perfectly concealed, the PCs can roll right past the patrols. Mechanic: A group CHA (Deception) probe (DC 13). Success: They reach the gates of New Kourou undetected. |
| PCs approach or cross the city limits of Hope or New Kourou | The law enforcement presence forces the posse to splinter. | Consequence: J.W.'s influence drops to zero. Because Valen Vanlith and the two guards are highly wanted criminals, they strictly avoid all legitimate settlements. If still pursuing, they violently yank their Veyras to a halt at the tree line, knowing they will be arrested on sight. However, Mustafa Metzger is a former criminal whose record is now clear; he can move freely. If he is still alive, he dismounts and trails the PCs into the settlement, setting up a terrifying, silent final stalker-confrontation in the settlement's streets before they can reach Ezrah. |
| PCs arrive at the Headquarters of the Office for Special Operations | The heavy blast doors open, and Ezrah's armed guards step out to take custody of the prisoner. | Consequence: The hunt is officially over. If Mustafa Metzger was trailing them, he realizes he is outmatched and melts away into the crowds. The PCs successfully deliver J.W. alive, fulfilling the mandate. Proceed immediately to Scene 9 — Final Briefing & Reward. |
7 | DM Notes
- The Mortician's Cart Payoff: If the players actually thought ahead in Scene 2 and brought the cart all the way here, let them feel like geniuses. Smuggling the bleeding boss of the Atrana Mountains past his own heavily armed settlers inside a coffin is peak tabletop roleplay.
- The Ticking Clock: Do not let the players relax during Phase I or III. Remind them constantly of the sound of hooves, snapping branches, and static from the Weber radio.
- The Scene Split: Remember to jump to Scene 8b — The Judgment as soon as the PCs follow the Honga in Phase II. Only return to Phase III of this page once the bloody business in the glade is finished!
DM Tutorial: How to approach the scene
Related Pages and Further Information
- ↑↑ Start: Hunting An Unknown Hunter
- ★ Overview: All Scenes of Hunting An Unknown Hunter
- ☞ Resolution: Case Resolution and discoverable Backstory
- ← Previous Scene: Scene 6c — Escape With The Hunter
- → Next Scene: After the Honga Encounter: Scene 8b — The Judgment, after the Final Stretch: Scene 9 — Final Briefing & Reward