Table of Contents
102 Pen and Paper Adventure | Beta Age
DRAMATURGIC COCKPIT AND SCENE OVERVIEW OF HUNTING AN UNKNOWN HUNTER
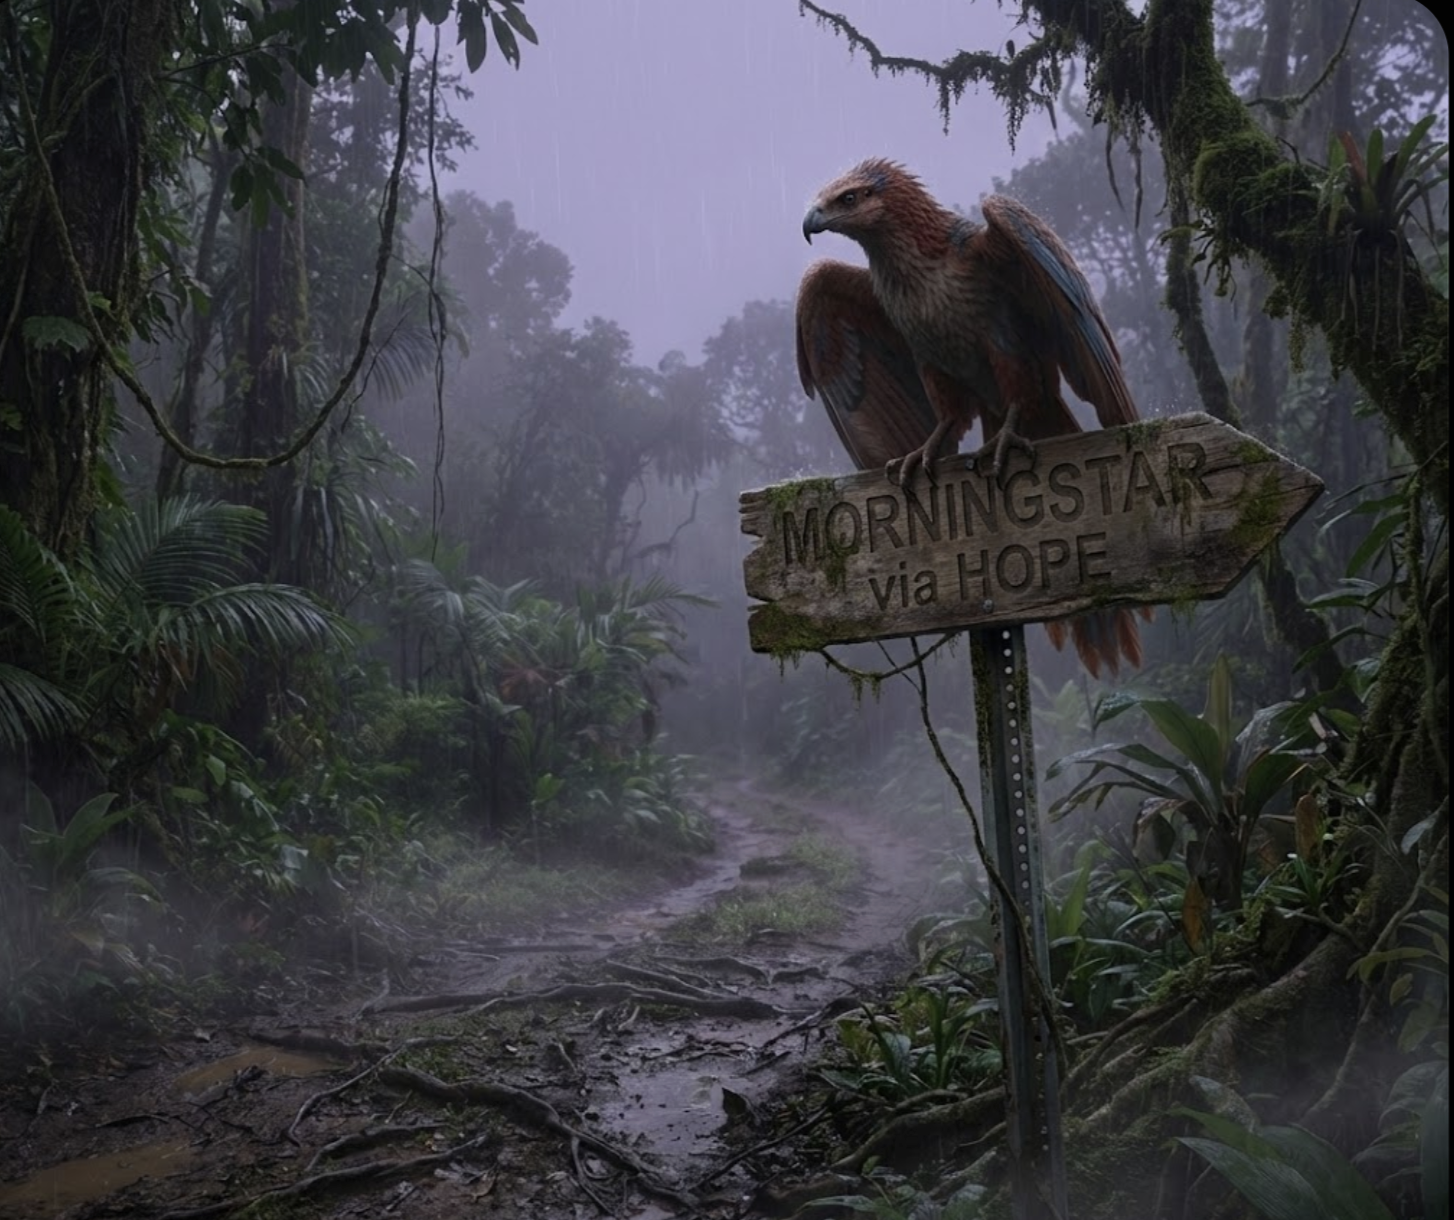
Introduction for Dungeon Masters
Hunting An Unknown Hunter is a consequence-driven continuation of The Man Without A Name.
The PCs receive a difficult mandate from Ezrah Scherkenstein: identify the person behind the attack upon the Office and bring that person back to New Kourou alive.
The adventure is not a single linear sequence. The PCs may investigate different locations, choose different routes, gain or lose allies, become prisoners, infiltrate J.W.’s compound, escape with or without him and return with very different accounts of what happened.
Do not prepare every scene in equal detail. Begin with the current stage, identify the route chosen by the players and consult only the scenes that may logically follow from it.
Use this page as a dramaturgic cockpit:
- Core scenes establish the main investigation, transition or resolution.
- Branch-Critical scenes become important only when a particular event, obligation or outcome activates them.
- Optional scenes provide additional clues, equipment, relationships or risks.
- Unlocked scenes become available through specific discoveries or relationships and may replace a default route.
Failure does not necessarily end the adventure. Capture, retreat, an incomplete investigation and an unsuccessful extraction all lead to playable consequences.
What matters is what the PCs discover, how they respond to the people caught inside J.W.’s system and which consequences they carry back to New Kourou.
Stage I — Briefing and Departure
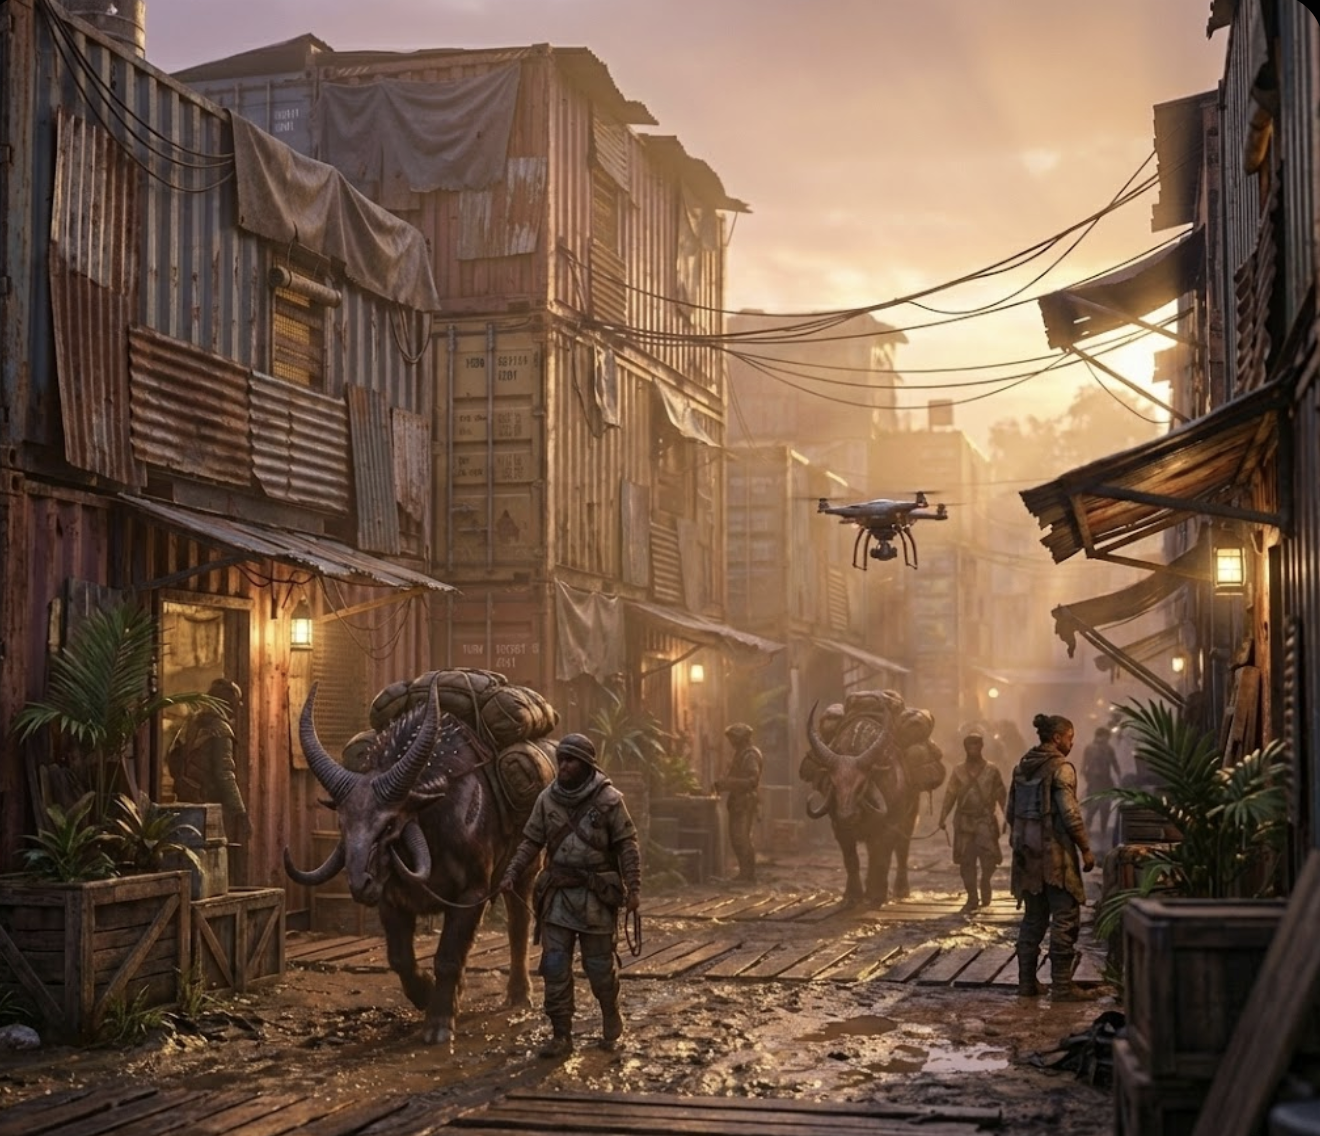
Stage I begins at the Office for Special Operations in New Kourou.
Ezrah establishes the mission and makes the live-capture mandate explicit. The PCs must then decide how to prepare, which transport and supplies to acquire and how openly they can move while carrying any existing Wanted Conditions.
The journey toward Morningstar gradually removes the protection of New Kourou. Optional stops may provide information or resources, while an encounter with the Honga can create an obligation that follows the PCs through the remainder of the adventure.
Key themes: preparation · limited resources · exposure · obligation · leaving familiar authority behind
| Scene | Name | Type | When It Is Used / Where It Leads | Link |
| 1 | The Briefing | Core | Establish Ezrah’s mandate, the live-capture condition, available support and the PCs’ current legal exposure. | Scene 1 |
| 2 | Travel Preparations | Core | Allow the PCs to plan their route, budget, supplies, transport and disguises before leaving New Kourou. | Scene 2 |
| 2a | Courier Station | Branch-Critical | Use when the PCs investigate scheduled transport or miss the caravan and must choose another way to travel. | Scene 2a |
| 2b | Mandala’s Mounts | Optional | Provides a fast individual transport option and introduces the scarcity of suitable mounts. | Scene 2b |
| 2c | Food Market | Optional | Allows the PCs to purchase supplies, hear rumours and risk additional exposure. | Scene 2c |
| 2d | Buying a Mortician’s Cart | Optional | Provides an enclosed Hoo-drawn hearse that may later conceal passengers, equipment, a prisoner or a body. | Scene 2d |
| 3 | Traveling to Morningstar | Core | Moves the PCs along the Trade Route and introduces the risks and practical demands of frontier travel. | Scene 3 |
| 3a | Rest Stop in Hope | Optional | Offers rest, rumours and an early economic clue connecting violence with the fur trade. | Scene 3a |
| 3b | Prisoners of the Honga | Branch-Critical | Introduces Honga judgment and may establish a promise or pact concerning the person responsible for the traps. | Scene 3b |
Stage II — The Pattern Emerges
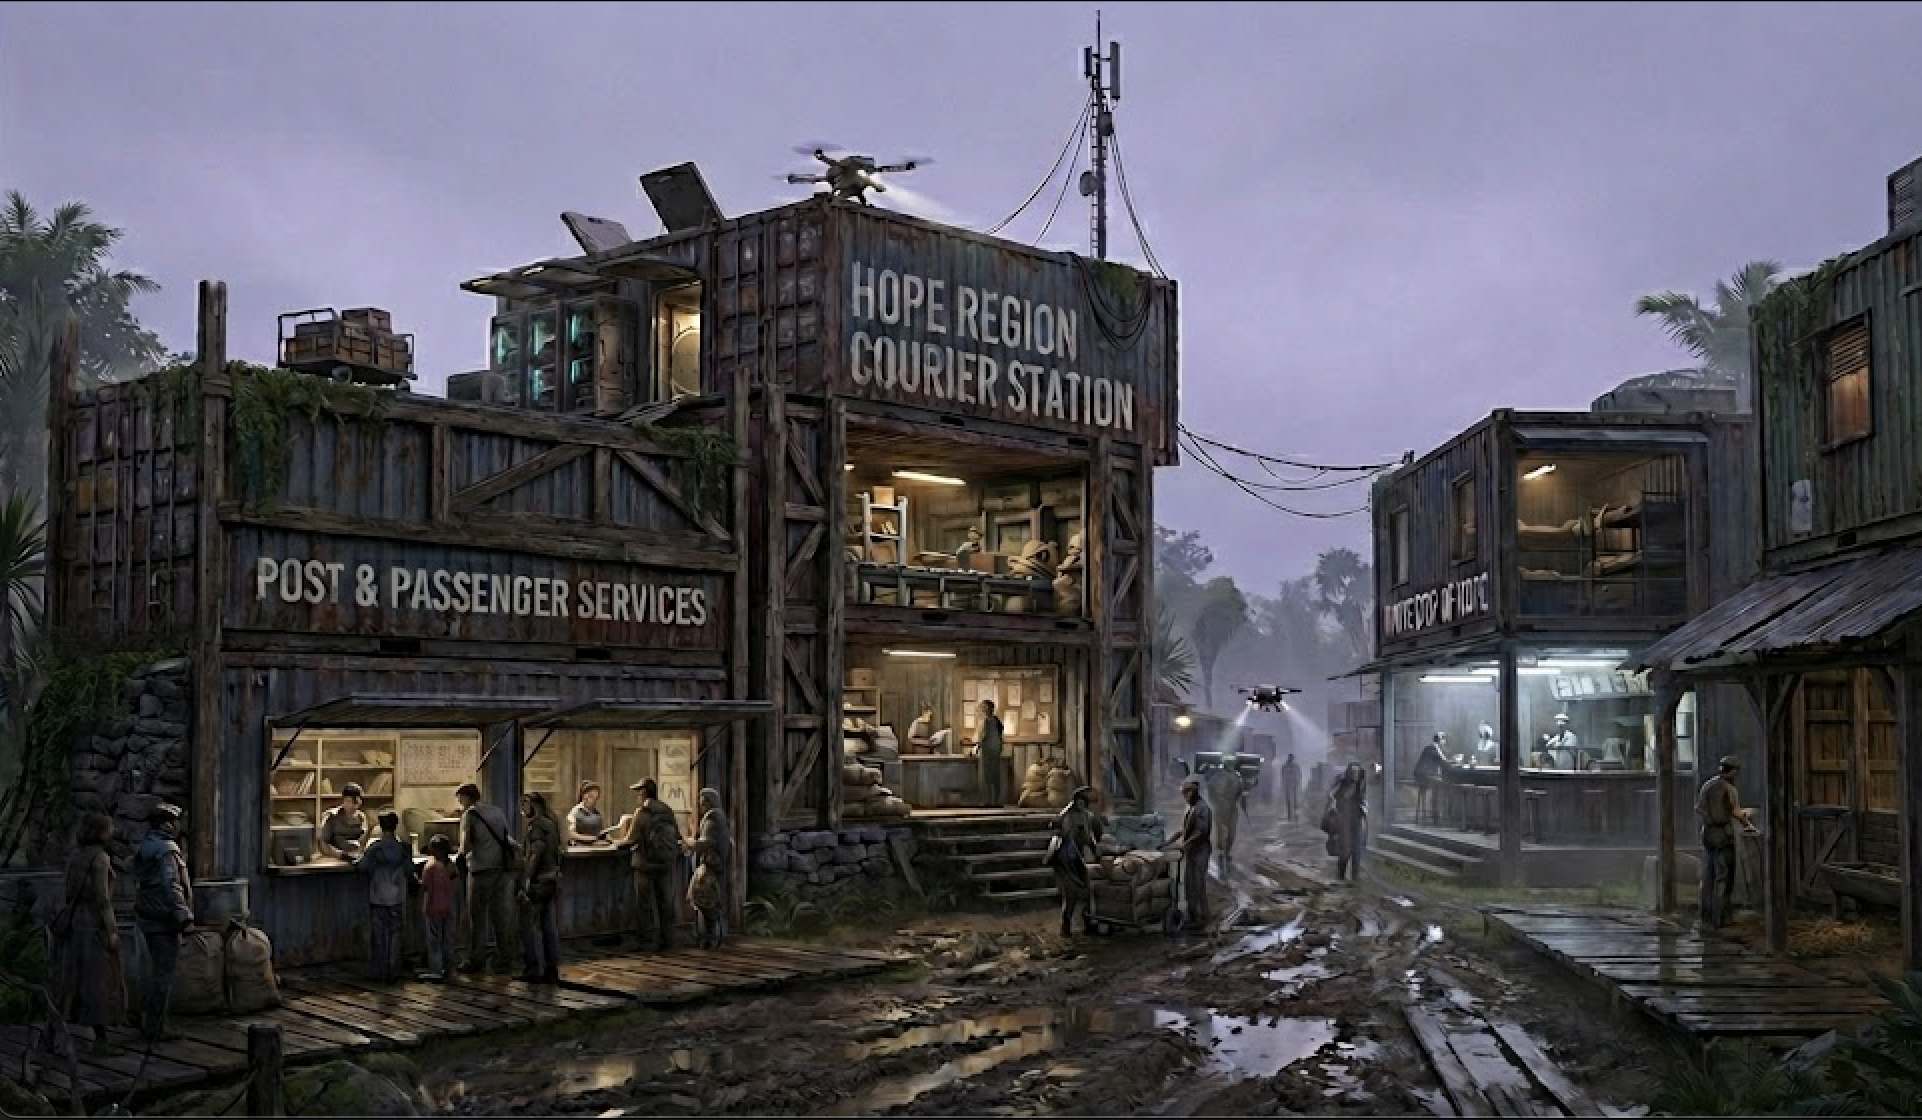
Stage II begins when the PCs reach Morningstar.
Morningstar functions as an investigation hub. The PCs may pursue economic evidence, question traders, seek treatment, acquire equipment or attract the attention of bounty hunters and Guarding Troopers.
The available clues gradually connect the fur trade, unusual payments, timber deliveries, the Hands and J.W.’s fortified compound.
Sagan offers a conditional route through this stage. If the PCs protect him and earn his trust, he can reveal the history of his ruined company and eventually guide them along the Roman Way. Otherwise, the PCs may locate the compound by following Mustafa “Mu” Metzger.
Key themes: converging evidence · economic control · fragile alliances · recognition · pressure from local authority
| Scene | Name | Type | When It Is Used / Where It Leads | Link |
| 4 | Arrival in Morningstar | Core | Introduces the settlement as an investigation hub and presents the available leads and locations. | Scene 4 |
| 4a | Django’s Diner | Optional | Allows the PCs to prevent bloodshed, protect civilians, meet Sagan and recover the torn voucher. | Scene 4a |
| 4a+1 | The Price of Timber | Optional · Unlocked | Becomes available after the PCs earn Sagan’s trust. Reveals his connection to J.W.’s supply chain and may recruit him as a guide. | Scene 4a+1 |
| 4b | Saw’s End | Core | Provides lodging, consolidates rumours and may expose Wanted PCs to Austin Hammacher. | Scene 4b |
| 4c | Morningstar Food Market | Core | Reveals J.W.’s influence upon local trade and introduces Mustafa “Mu” Metzger as a possible lead. | Scene 4c |
| 4d | Medical Station of Morningstar | Optional | Allows the PCs to treat injuries and manage conditions acquired during the journey. | Scene 4d |
| 4e | Hale & Hook Outfitters | Core | Confirms the material and economic trail connecting J.W. with the fur trade. | Scene 4e |
| 4f | Local Guarding Troopers Station | Optional | Allows procedural investigation but may expose or arrest Wanted PCs. | Scene 4f |
| 4g | Escaping Morningstar — The Manhunt | Branch-Critical | Use when exposure, arrest or violence forces the PCs to flee Morningstar. | Scene 4g |
Stage III — Entering the Realm of the Hunter
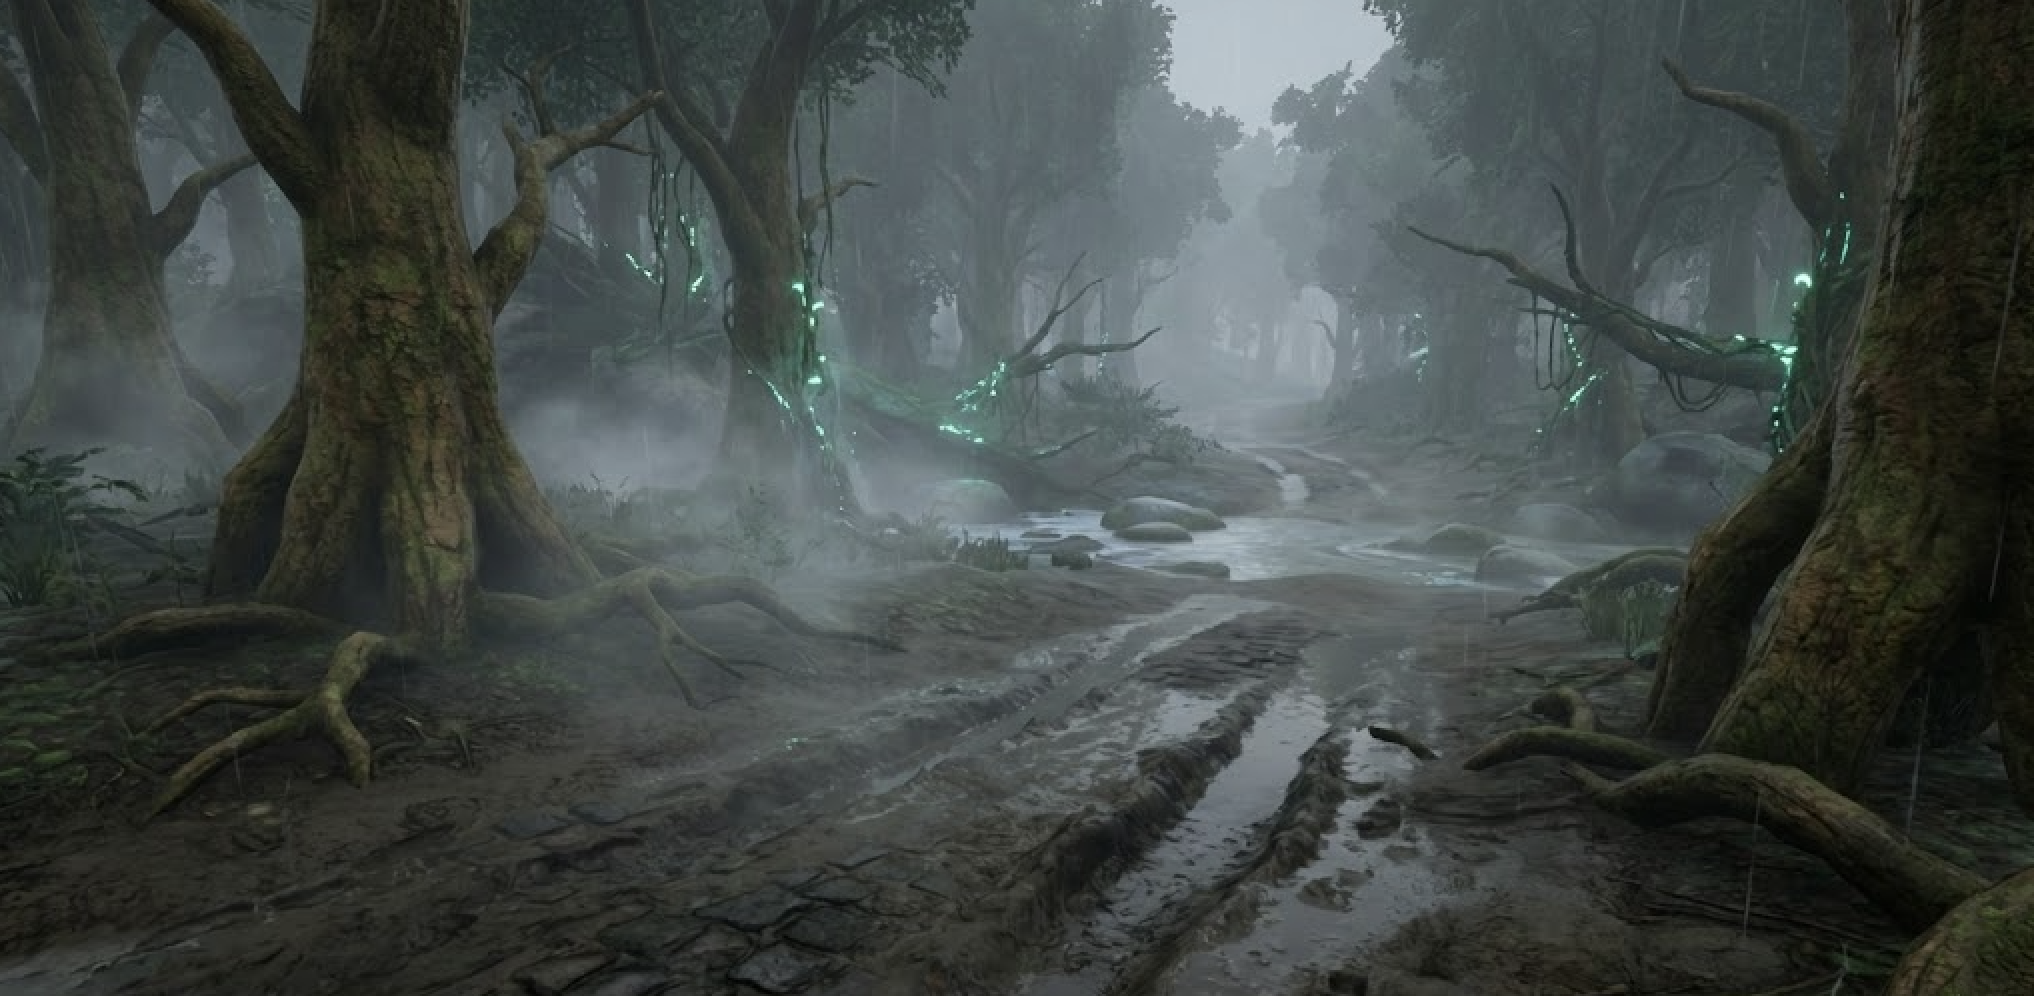
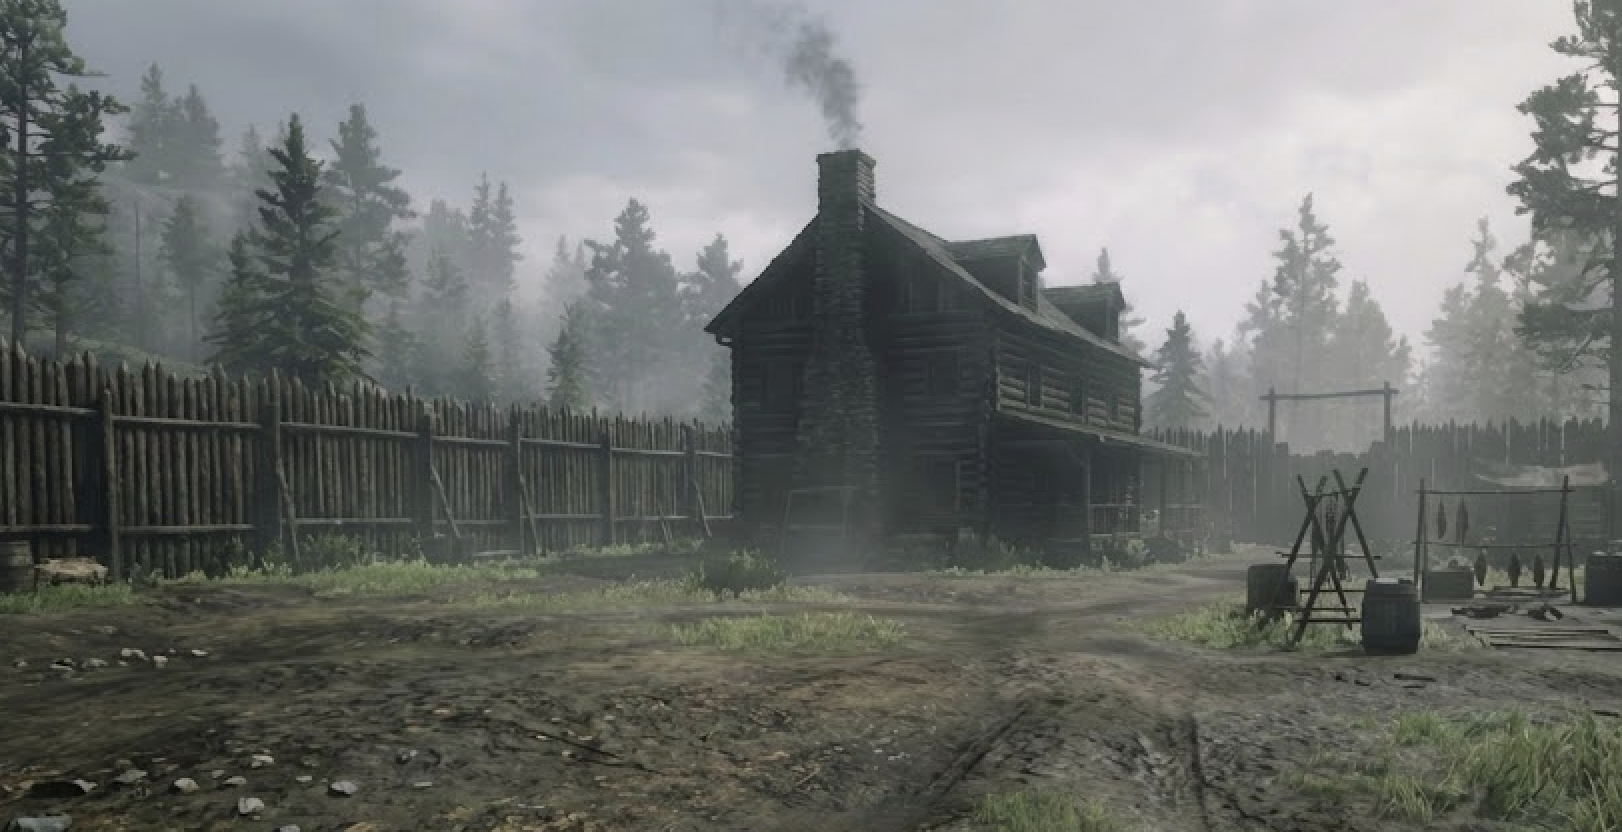
Stage III begins when the PCs leave Morningstar and enter the forest leading toward J.W.’s territory.
Two principal routes can lead to the compound. The PCs may follow Mu and attempt to interpret the temporary markers used by J.W.’s people, or they may unlock Sagan’s guidance along the Roman Way.
Both routes converge at the fortified compound. The palisade, guarded gate, warning bell and departing freight wagon create practical obstacles before the PCs ever reach the buildings inside.
Once within the compound, track the current escalation state, the freight wagon, J.W.’s Hands and the Blues separately. The Hands enforce J.W.’s authority. The Blues are not an automatically hostile faction; their reactions depend upon their Disposition, their circumstances and whether resistance against J.W. has begun.
If the PCs arrive freely, continue with Scene 6a. If they are captured, continue with Scene 6b. Their eventual escape then leads to Scene 6c or Scene 6d depending upon whether they take J.W. with them.
Key themes: infiltration · controlled territory · escalating alarm · coerced inhabitants · the difficulty of live extraction
| Scene | Name | Type | When It Is Used / Where It Leads | Link |
| — APPROACH ROUTES — | ||||
| 5 | Follow the Errand Runner | Branch-Critical · Default Route | Follow Mu from Morningstar, interpret the temporary route markers and approach the compound while avoiding interception. | Scene 5 |
| 4a+2 | The Roman Way | Optional · Unlocked Route | Replaces the default approach if Sagan agrees to guide the PCs. Ends when the compound comes into view. | Scene 4a+2 |
| — COMPOUND ENTRY AND CONFRONTATION — | ||||
| 6a | In the Realm of the Hunter | Branch-Critical | Use when the PCs reach or re-enter the compound freely. Resolve infiltration, exploration, escalation, the Blues and the confrontation with J.W. | Scene 6a |
| 6b | As a Prisoner in the Realm of the Hunter | Branch-Critical | Use only if the PCs are captured. Escape from the holding room returns them to Scene 6a under the appropriate escalation state. | Scene 6b |
| — ESCAPE FROM THE COMPOUND — | ||||
| 6c | Escape with the Hunter | Branch-Critical | Use when the PCs leave the compound with J.W. under their control. Resolve pursuit, the Hands, the Blues and the physical burden of extraction. | Scene 6c |
| 6d | Escape Empty-Handed | Branch-Critical | Use when the PCs leave without J.W. Resolve pursuit, surviving evidence and the decision to keep moving or risk returning. | Scene 6d |
Stage IV — Judgment, Return and Aftermath
Stage IV begins once the PCs have escaped J.W.’s compound.
The return to New Kourou is not a reset. The PCs must select a viable route, account for their remaining transport and equipment and deal with injuries, companions, pursuit and the condition of J.W.
If the PCs previously made a promise to the Honga, their return may activate Scene 8b. The PCs must then decide whether to fulfil that obligation, negotiate around it or accept the consequences of breaking it.
Scene 9 resolves the formal debriefing. Ezrah evaluates the evidence, the live-capture mandate, the fate of the Blues and the PCs’ actions. The recorded Final State then determines which epilogue follows.
Key themes: survival · accountability · cultural obligation · evidence · legal consequences · emotional closure
| Scene | Name | Type | When It Is Used / Where It Leads | Link |
| — RETURN TO NEW KOUROU — | ||||
| 8a | Return to New Kourou | Core | Resolve the available return routes, remaining resources, companions, transport and J.W.’s condition. | Scene 8a |
| 8b | The Judgment | Branch-Critical | Interrupts or alters the return if an existing Honga promise or pact requires J.W. or proof of confrontation. | Scene 8b |
| — OFFICIAL RESOLUTION — | ||||
| 9 | Final Debriefing | Core | Present the mission report and evidence, resolve Ezrah’s assessment and record J.W.’s Final State, Reward Status and Blues Exposure. | Scene 9 |
| — EPILOGUES — CHOOSE ONE — | ||||
| 10a | The Hunter Unmasked | Branch-Critical Ending | Use if J.W. was delivered alive, whether he remains alive or subsequently dies by suicide at the OfSO. | Scene 10a |
| 10b | What Remains | Branch-Critical Ending | Use if J.W. was delivered dead, remains in Honga custody or remains at large. | Scene 10b |
Final State Routing
| J.W.’s Final State | Epilogue |
| Delivered Alive — Remains Alive | Scene 10a — The Hunter Unmasked |
| Delivered Alive — Died by Suicide at the OfSO | Scene 10a — The Hunter Unmasked |
| Delivered Dead | Scene 10b — What Remains |
| Not Delivered — In Honga Custody | Scene 10b — What Remains |
| Not Delivered — At Large | Scene 10b — What Remains |
Additional Scene Convention
Scenes marked with a + number are unlocked through specific player actions, relationships or discoveries.
- Scene 4a+1 is the first additional scene unlocked through the PCs’ relationship with Sagan.
- Scene 4a+2 is the second scene unlocked through the same branch and provides an alternative approach to the compound.
- If the necessary conditions are not met, these scenes remain unavailable and the adventure continues through another route.
Unlocked scenes may reveal unique information, relationships or tactical opportunities, but they are never the only way to continue the adventure.
The overview preserves the established wiki numbering. No Scene 7 is currently assigned.
Core Characters and Factions
Only characters and factions that unlock information, alter the PCs’ route, shift the balance of power or determine the final outcome are listed here. They are ordered by their first meaningful appearance.
| Name / Faction | Role | Stage | Function in the Adventure |
| Ezrah Scherkenstein | Founder of the Office for Special Operations | Stage I and IV | Issues the live-capture mandate, provides limited support, evaluates the evidence and determines the Reward Status. She is relieved when the PCs survive but remains honest about whether they fulfilled the contract. She also helps clear mission-related legal consequences. |
| Elias and Ruben Kettler | Traveling fur traders | Stage I | Connect apparently isolated violence with repeated economic patterns in the fur trade and help establish that someone is enforcing a hidden system. |
| Aruṇa Karavashi Tivu’Leisa Nohra | Secular Leader of the Honga | Stage I and IV | Introduces cultural judgment and may bind the PCs to an obligation concerning the person responsible for the traps. That obligation can return during Scene 8b. |
| Sagan Belmont | Former owner of Belmont Timber & Haulage · potential guide | Stage II and III | Provides a personal connection to J.W.’s economic exploitation. If the PCs earn his trust, he reveals the timber deliveries and may guide them along the Roman Way. |
| Austin Hammacher | Freelance bounty hunter | Stage II | Turns the PCs’ exposure into an immediate threat and may trigger arrest, violence or the Morningstar manhunt. |
| Mustafa “Mu” Metzger | Errand runner · Hand | Stage II and III | Provides the default route from Morningstar toward the compound. If he recognizes pursuit, he prepares an interception rather than merely fleeing. |
| The Blues | Coerced workers and inhabitants of J.W.’s compound | Stage III and IV | Their Disposition, Resistance and Exposure determine whether they fear, distrust or support the PCs and how their existence affects the adventure’s aftermath. They are not automatically loyal to J.W. or hostile toward the PCs. |
| J.W.’s Hands | Armed enforcers and compound security | Stage III | Guard the routes and compound, operate the alarm response and pursue intruders. They are distinct from the wider Blue population. |
| J.W. — The Hunter | Architect of the compound and its system of control | Stage III and IV | Represents organized violence maintained through secrecy, procedure, coercion and delegated force. His capture, death, surrender to the Honga or continued freedom determines the final branch of the adventure. |
Related Pages and Further Information
- ☞ Resolution: Case Resolution and Discoverable Backstory